I just started working at United Codes and am new to APEX Office Print (AOP). Because we use AOP throughout many of our projects, getting to know its functionalities is important. Let’s start at the very beginning, with a step-by-step guide to get up-and-running with AOP and create your first report.
The first thing you need to do is sign up for a free account at apexofficeprint.com. After confirming your email address and signing in, you’ll get access to the AOP Dashboard. In the Getting Started section, there’s a very comprehensive video where Jackie guides you through the AOP installation process.
You can follow the video or go to the next step in the wizard where you can find a link to download AOP. I’ll briefly share my installation steps (
Quick Install Guide), more detailed information can be found in the
Install section of the wizard or in the
docs.
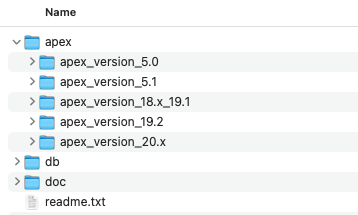
After downloading and unzipping AOP, you’ll find the following contents with directories for different APEX versions:
Now it’s time to install! Sign into your APEX Workspace that contains the application in which you would like to use AOP and complete the following steps:
Navigate to SQL Workshop -> SQL Scripts and upload the ‘aop_db_pkg.sql’ script (in the db directory of the zip file you downloaded). Give it a name, e.g. ‘AOP Install Script’. Next, don’t forget to run the script!
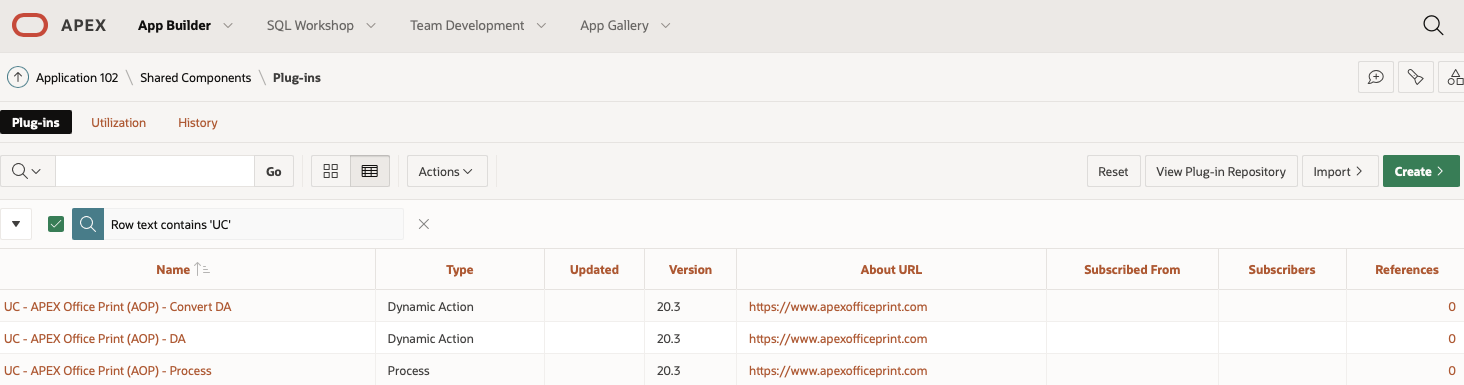
In your application’s Shared Components -> Plug-ins, import the three files below (make sure you select the right APEX version):
- dynamic_action_plugin_be_apexrnd_aop_da.sql
- process_type_plugin_be_apexrnd_aop.sql
- dynamic_action_plugin_be_apexrnd_aop_convert_da.sql
For each of these plug-ins, fill in your AOP API key (available in the AOP dashboard) and set the AOP Mode to Development. Development mode is used when you don't want the reports to be counted towards your allocated monthly reports. It does, however, add a watermark to the output, so if this bothers you you can always use production mode... just be mindful of your report credits. When using HTTPS, make sure the AOP URL is referenced accordingly. You can always edit these settings via Shared Components -> Component Settings.
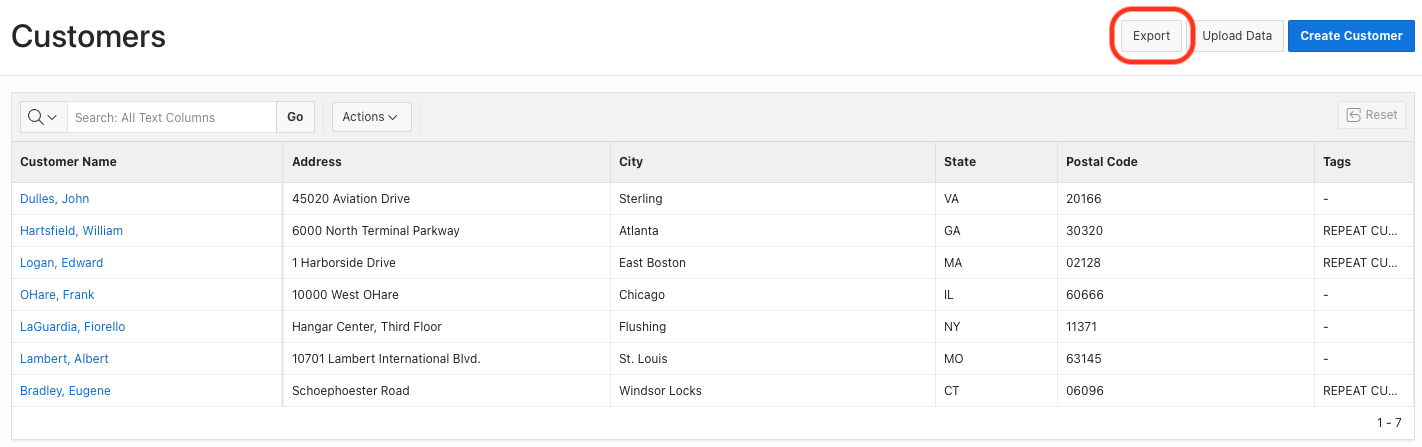
We’re all set to create our first report! I’m using the Customers page for this example. Navigate to page 2 and create a button called EXPORT, I’ve placed mine before the UPLOAD_DATA button.
Create a Dynamic Action (on click) for the button and select UC APEX Office Print (AOP) – DA [Plug-In]. Since we don’t have a template yet, change the following settings:
- Template Type: AOP Report
- Data Type: Region(s): Classic Report, Interactive Report/Grid, SVG, Canvas, HTML, Other
- Region Statis Id(s): customer_ir
- Output Type: Excel (xlsx)
- Output To: Browser (file)
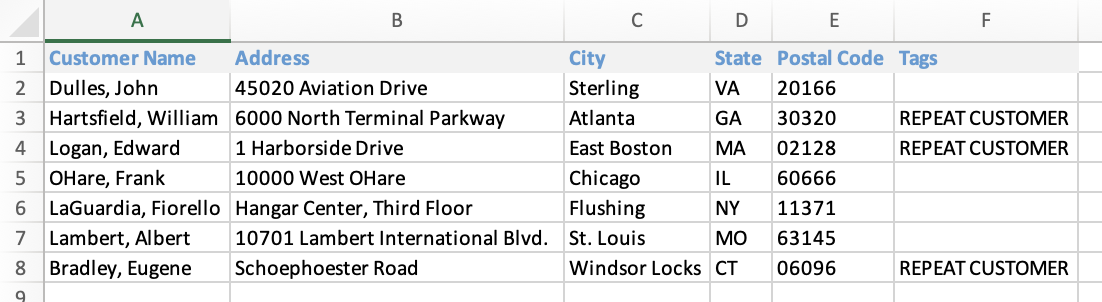
Save your changes, run the page, and hit the Export button! You should now get an Excel file containing customer data.
Congratulations! You’ve just created your first AOP report!
The next step is using a custom template to export our data. Change the Template Type of the Dynamic Action to AOP Template, this will generate an example template showing all the tags we can use. This will make it easy for us to create a completely custom template.
When you click the Export button again, a template with lots of different tags is generated. For example, we can reference columns within our report as follows:
{#customer_ir} {CUSTOMER_NAME} {CUSTOMER_ADDRESS} {CUST_CITY} {CUST_STATE} {/customer_ir}
Now, let’s create a custom template using one of the example tags. Modify the template generated by AOP so that the '{&customer_ir&}’ tag is referenced and save this file as ‘customer_template.xlsx’.
In your application, go to Shared Components -> Static Application Files and upload the new template you just created.
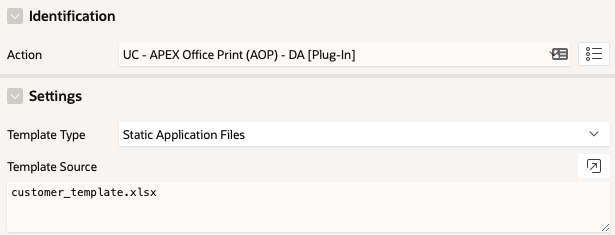
Navigate back to the Dynamic Action on page 2 and change these settings to reference our custom template:
- Template Type: Static Application Files
- Template Source: customer_template.xlsx
Save your changes and click on the Export button once again. You should now get the customer data as before. Note that report modifications – such as filters and formatting options – are automatically exported too. Very cool!
Installing and integrating AOP is fairly easy! Of course, AOP has a lot more to offer! For more information, advanced implementations and tutorials, visit the
APEX Office Print documentation and the
AOP Sample Application which is also included in the download (aop_sample_apex_app.sql).
Welcome to the magical world of AOP!
Kevin.
Author: Kevin Thyssen
.91a06b5.svg)